Open your web browser and navigate to GitHub's website.
Log in to your GitHub account if you haven't already.
Click on your profile icon in the top-right corner of the page, then select "Settings" from the dropdown menu. Alternatively, you can navigate directly here.
Access Developer Settings
In the left sidebar of the Settings page, locate and click on the Developer settings option. This will open a submenu.
Access Personal Access Tokens
Within the Developer settings submenu, click on Personal access tokens. You may need to re-enter your password for security purposes.
Generate New Token
On the Tokens (classic) page, click on the Generate new token (classic) button.
You'll be prompted to provide a token description. Choose a descriptive name that will help you identify the purpose of the token.
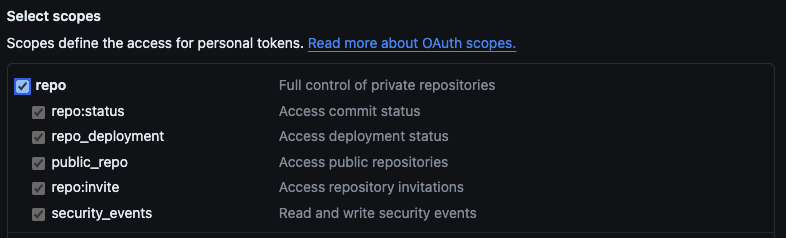
Below the description field, you'll find a list of scopes or permissions for the token. These determine what actions the token can perform. We suggest selecting the full access for repositories.
Once you've selected the desired scopes, scroll to the bottom of the page and click on the "Generate token" button.
Copy and Store Token Securely
After generating the token, GitHub will display it on the screen. Copy the token immediately as it will not be displayed again for security reasons.
Store the token securely. Treat it like a password and do not share it with anyone. GitHub tokens grant access to your account and repositories, so keeping them secure is crucial.