Tutorial - 20 newsgroups
In this example, we will use the 20 newsgroups text dataset to train a text classification model. This example is inspired by the scikit-learn example for text classification.
Step 1: Logging in to the jupyterhub server
Access the jupyterhub server by navigating to the following URL:
https://jupyterhub.{IDOML_DOMAIN}
Step 2: Cloning the example repository
Open a terminal in the JupyterLab interface. Run the following commands:
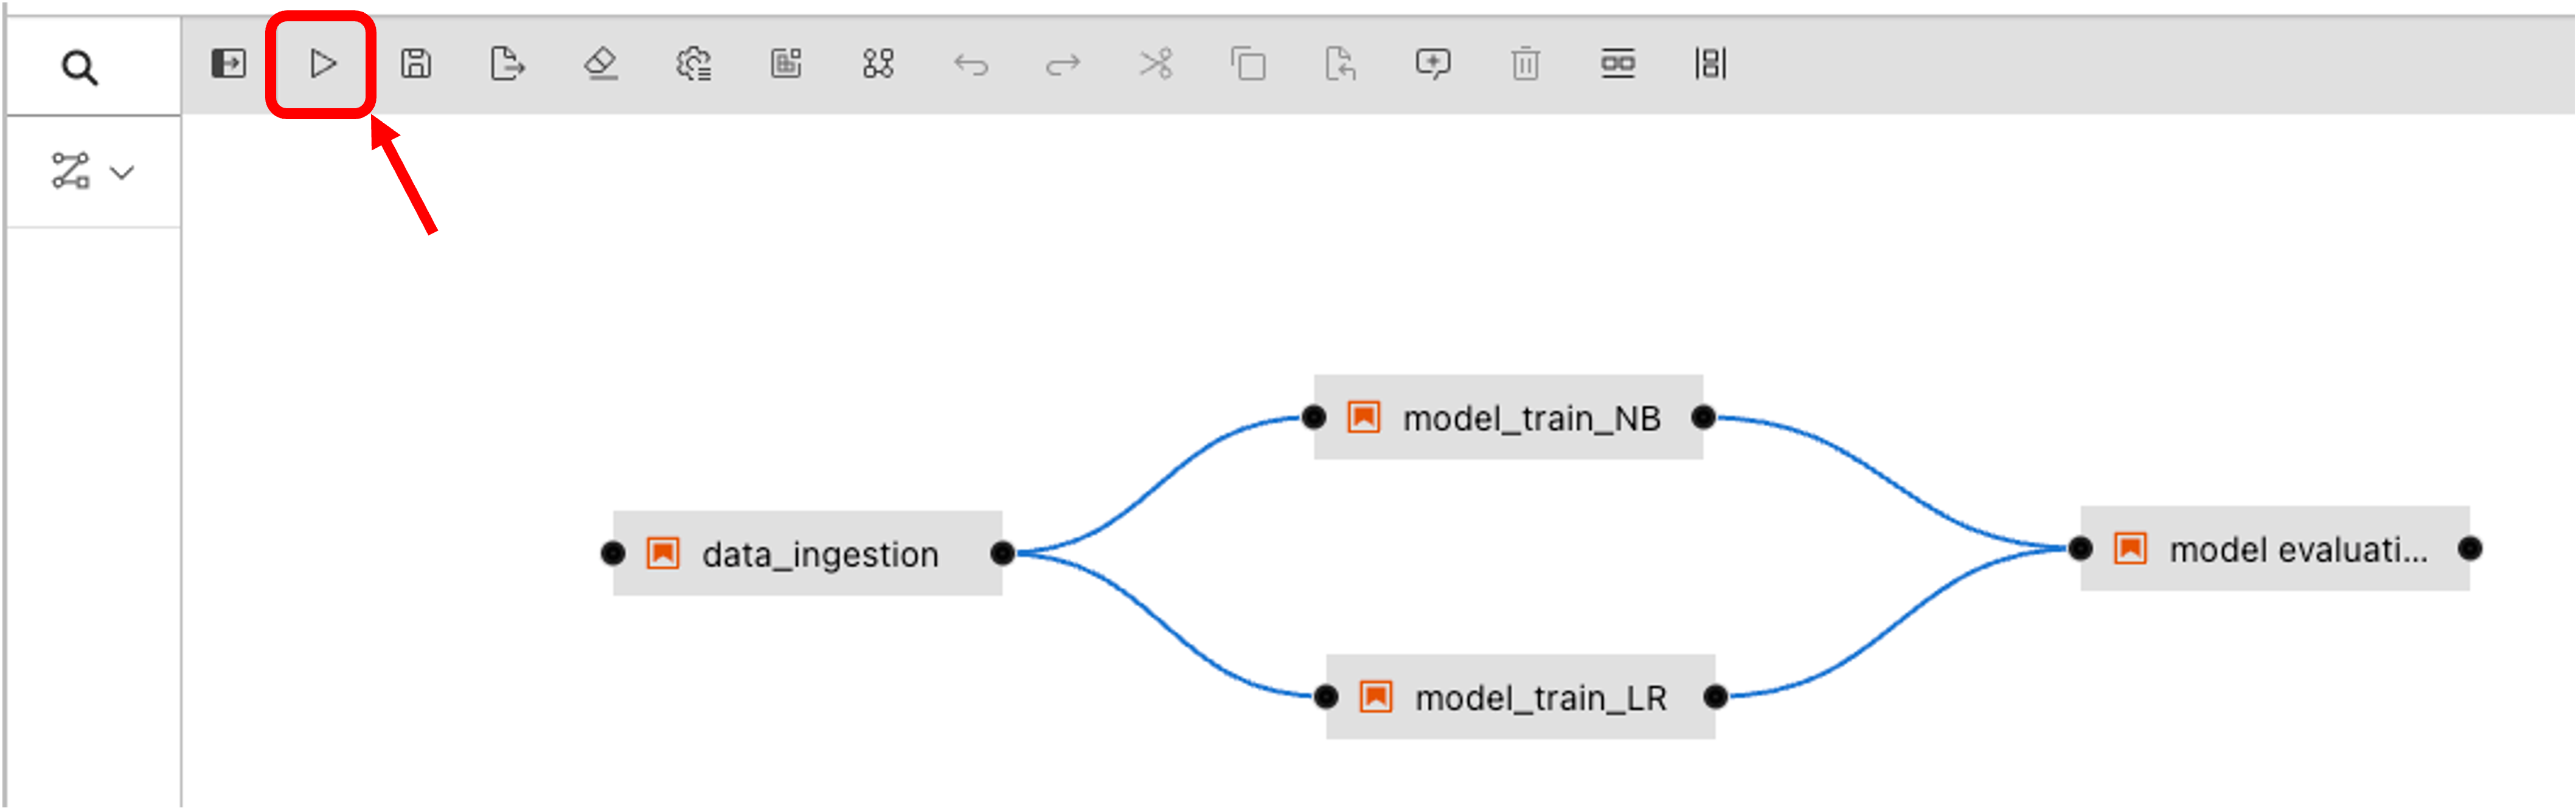
Step 3: Running the pipeline
Open the pipeline file text-clf-20news.pipeline in the JupyterLab interface. Then click on the run button to execute the pipeline.
Then select the IDOML runtime defined previously and click on the OK button.
Step 4: Checkout the pipeline
We can now check out the pipeline by navigating to the airflow server with the following URL:
Note
If it is the first time you are submitting a pipeline to airflow, you will need to wait airflow to sync the DAGs. This can take a few minutes.
In the meantime, you can check the dag file in the repository which airflow is tracking for the pipeline execution.
Step 5: Check the Pipeline execution
The pipeline execution can be checked by navigating to the Minio server with the following URL:
Login with the following the user account, the execution logs can be found in the bucket defined previously in the IDOML runtime.
Step 6: Check the ML outcome
After the pipeline execution, we can check the ML outcome by navigating to the MLflow server with the following URL: